개발과 동시에 api 목록이 나오니 참..편리하다
pom.xml 스웨거 add
<!-- 스웨거 -->
<dependency>
<groupId>io.springfox</groupId>
<artifactId>springfox-swagger2</artifactId>
<version>2.9.2</version>
</dependency>
<dependency>
<groupId>io.springfox</groupId>
<artifactId>springfox-swagger-ui</artifactId>
<version>2.9.2</version>
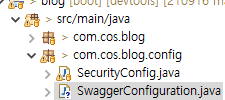
</dependency>베이스 패키지(본인) 스프링 부트가 읽어오는곳
아래 아무곳이나 아래 SwaggerConfiguration 클래스 생성 !!
import org.springframework.context.annotation.Bean;
import org.springframework.context.annotation.Configuration;
import springfox.documentation.builders.ApiInfoBuilder;
import springfox.documentation.builders.PathSelectors;
import springfox.documentation.builders.RequestHandlerSelectors;
import springfox.documentation.service.ApiInfo;
import springfox.documentation.spi.DocumentationType;
import springfox.documentation.spring.web.plugins.Docket;
import springfox.documentation.swagger2.annotations.EnableSwagger2;

@Configuration
@EnableSwagger2
public class SwaggerConfiguration {
	@Bean
	public Docket api() {
		return new Docket(DocumentationType.SWAGGER_2)
				.apiInfo(apiInfo())
				.select()
				.apis(RequestHandlerSelectors.basePackage("com.cos.blog"))
				.paths(PathSelectors.any())
				.build();
	}

	private ApiInfo apiInfo() {
		return new ApiInfoBuilder()
				.title("Nayha Blog Test With Swagger2")
				.description("잘 하자 ")
				.version("1.0")
				.build();
	}
}
서버 정상적으로 올라가면 짜라짜라잔
http://서비주소:설정포트/swagger-ui.html
예) http://localhost:8000/swagger-ui.html
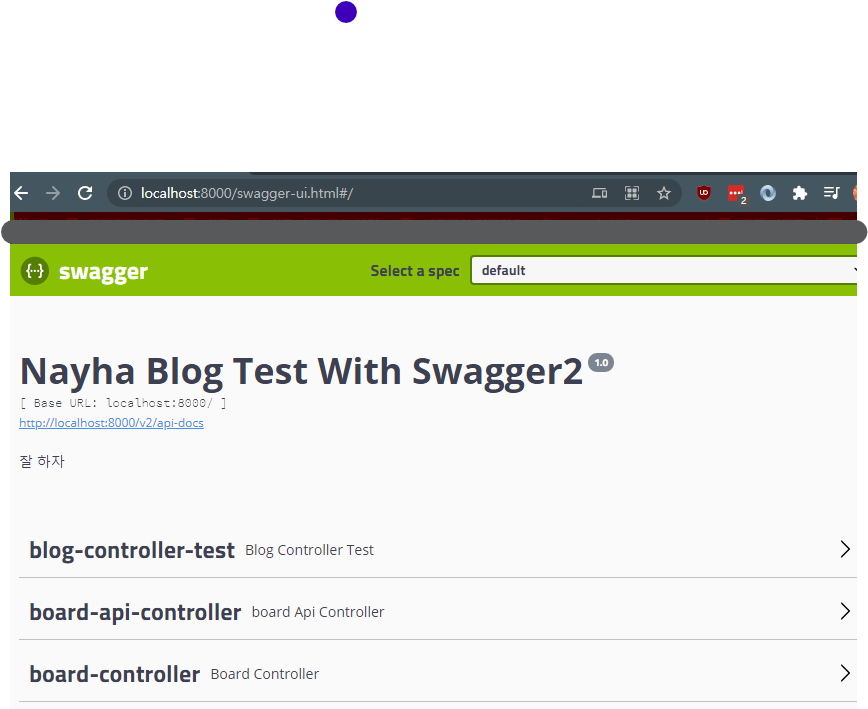
끝 ㅎㅎ 5분도 안걸림
반응형
'개발툴 팁' 카테고리의 다른 글
| 개발 용어 시리즈 후크 ( Hook ) (0) | 2022.09.02 |
|---|---|
| postman rest local/ dev 구분 변수 (환경변수) (0) | 2020.10.27 |
| 오픈아이디 커넥트 - OpenID Connect( OIDC ) (0) | 2020.05.26 |
| AWS EC2 VS-CODE INSTALL (비주얼스튜디오 코드 설치) (0) | 2020.05.19 |
| efk 수동설치 정리 (0) | 2020.05.14 |
| 윈도우10 choco 설치 방법 (0) | 2020.04.24 |
| docker mysql 설치 후 접속 방법 (0) | 2020.03.05 |
| SSL 관련해서 정리해보기.. (0) | 2020.02.14 |