개발과 동시에 api 목록이 나오니 참..편리하다
pom.xml 스웨거 add
 		<!-- 스웨거 -->
 		<dependency>
 			<groupId>io.springfox</groupId>
 			<artifactId>springfox-swagger2</artifactId>
 			<version>2.9.2</version>
 		</dependency>
 		<dependency>
 			<groupId>io.springfox</groupId>
 			<artifactId>springfox-swagger-ui</artifactId>
 			<version>2.9.2</version>
 		</dependency>
베이스 패키지(본인) 스프링 부트가 읽어오는곳
아래 아무곳이나 아래 SwaggerConfiguration 클래스 생성 !!
import org.springframework.context.annotation.Bean;
import org.springframework.context.annotation.Configuration;
import springfox.documentation.builders.ApiInfoBuilder;
import springfox.documentation.builders.PathSelectors;
import springfox.documentation.builders.RequestHandlerSelectors;
import springfox.documentation.service.ApiInfo;
import springfox.documentation.spi.DocumentationType;
import springfox.documentation.spring.web.plugins.Docket;
import springfox.documentation.swagger2.annotations.EnableSwagger2;

@Configuration
@EnableSwagger2
public class SwaggerConfiguration {
	@Bean
	public Docket api() {
		return new Docket(DocumentationType.SWAGGER_2)
				.apiInfo(apiInfo())
				.select()
				.apis(RequestHandlerSelectors.basePackage("com.cos.blog"))
				.paths(PathSelectors.any())
				.build();
	}

	private ApiInfo apiInfo() {
		return new ApiInfoBuilder()
				.title("Nayha Blog Test With Swagger2")
				.description("잘 하자 ")
				.version("1.0")
				.build();
	}
}
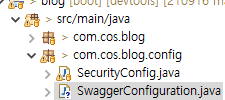 생성한곳
생성한곳
서버 정상적으로 올라가면 짜라짜라잔
http://서비주소:설정포트/swagger-ui.html
예) http://localhost:8000/swagger-ui.html
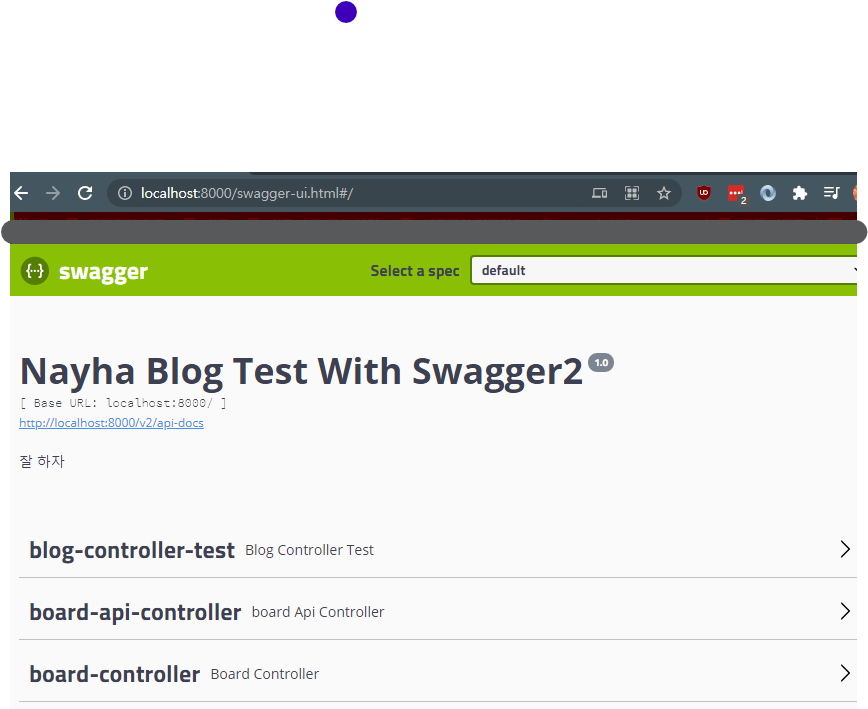 짜잔
짜잔
끝 ㅎㅎ 5분도 안걸림